How to set a static IP for your MERCUSYS Camera
Introduction
Setting a static IP address for MERCUSYS cameras/doorbells ensures reliable and uninterrupted operation while also ensuring reliable and uninterrupted use of your cameras/doorbells across your entire network. For continuous streaming via RTSP, connecting to an ONVIF-compatible system, or saving video to a NAS, setting a static IP for your MERCUSYS camera/doorbell is highly recommended.
Note:
Not all models support setting Static IP. This feature is unavailable for battery-powered cameras and doorbells.
Support may vary by model and firmware version.
Configuration
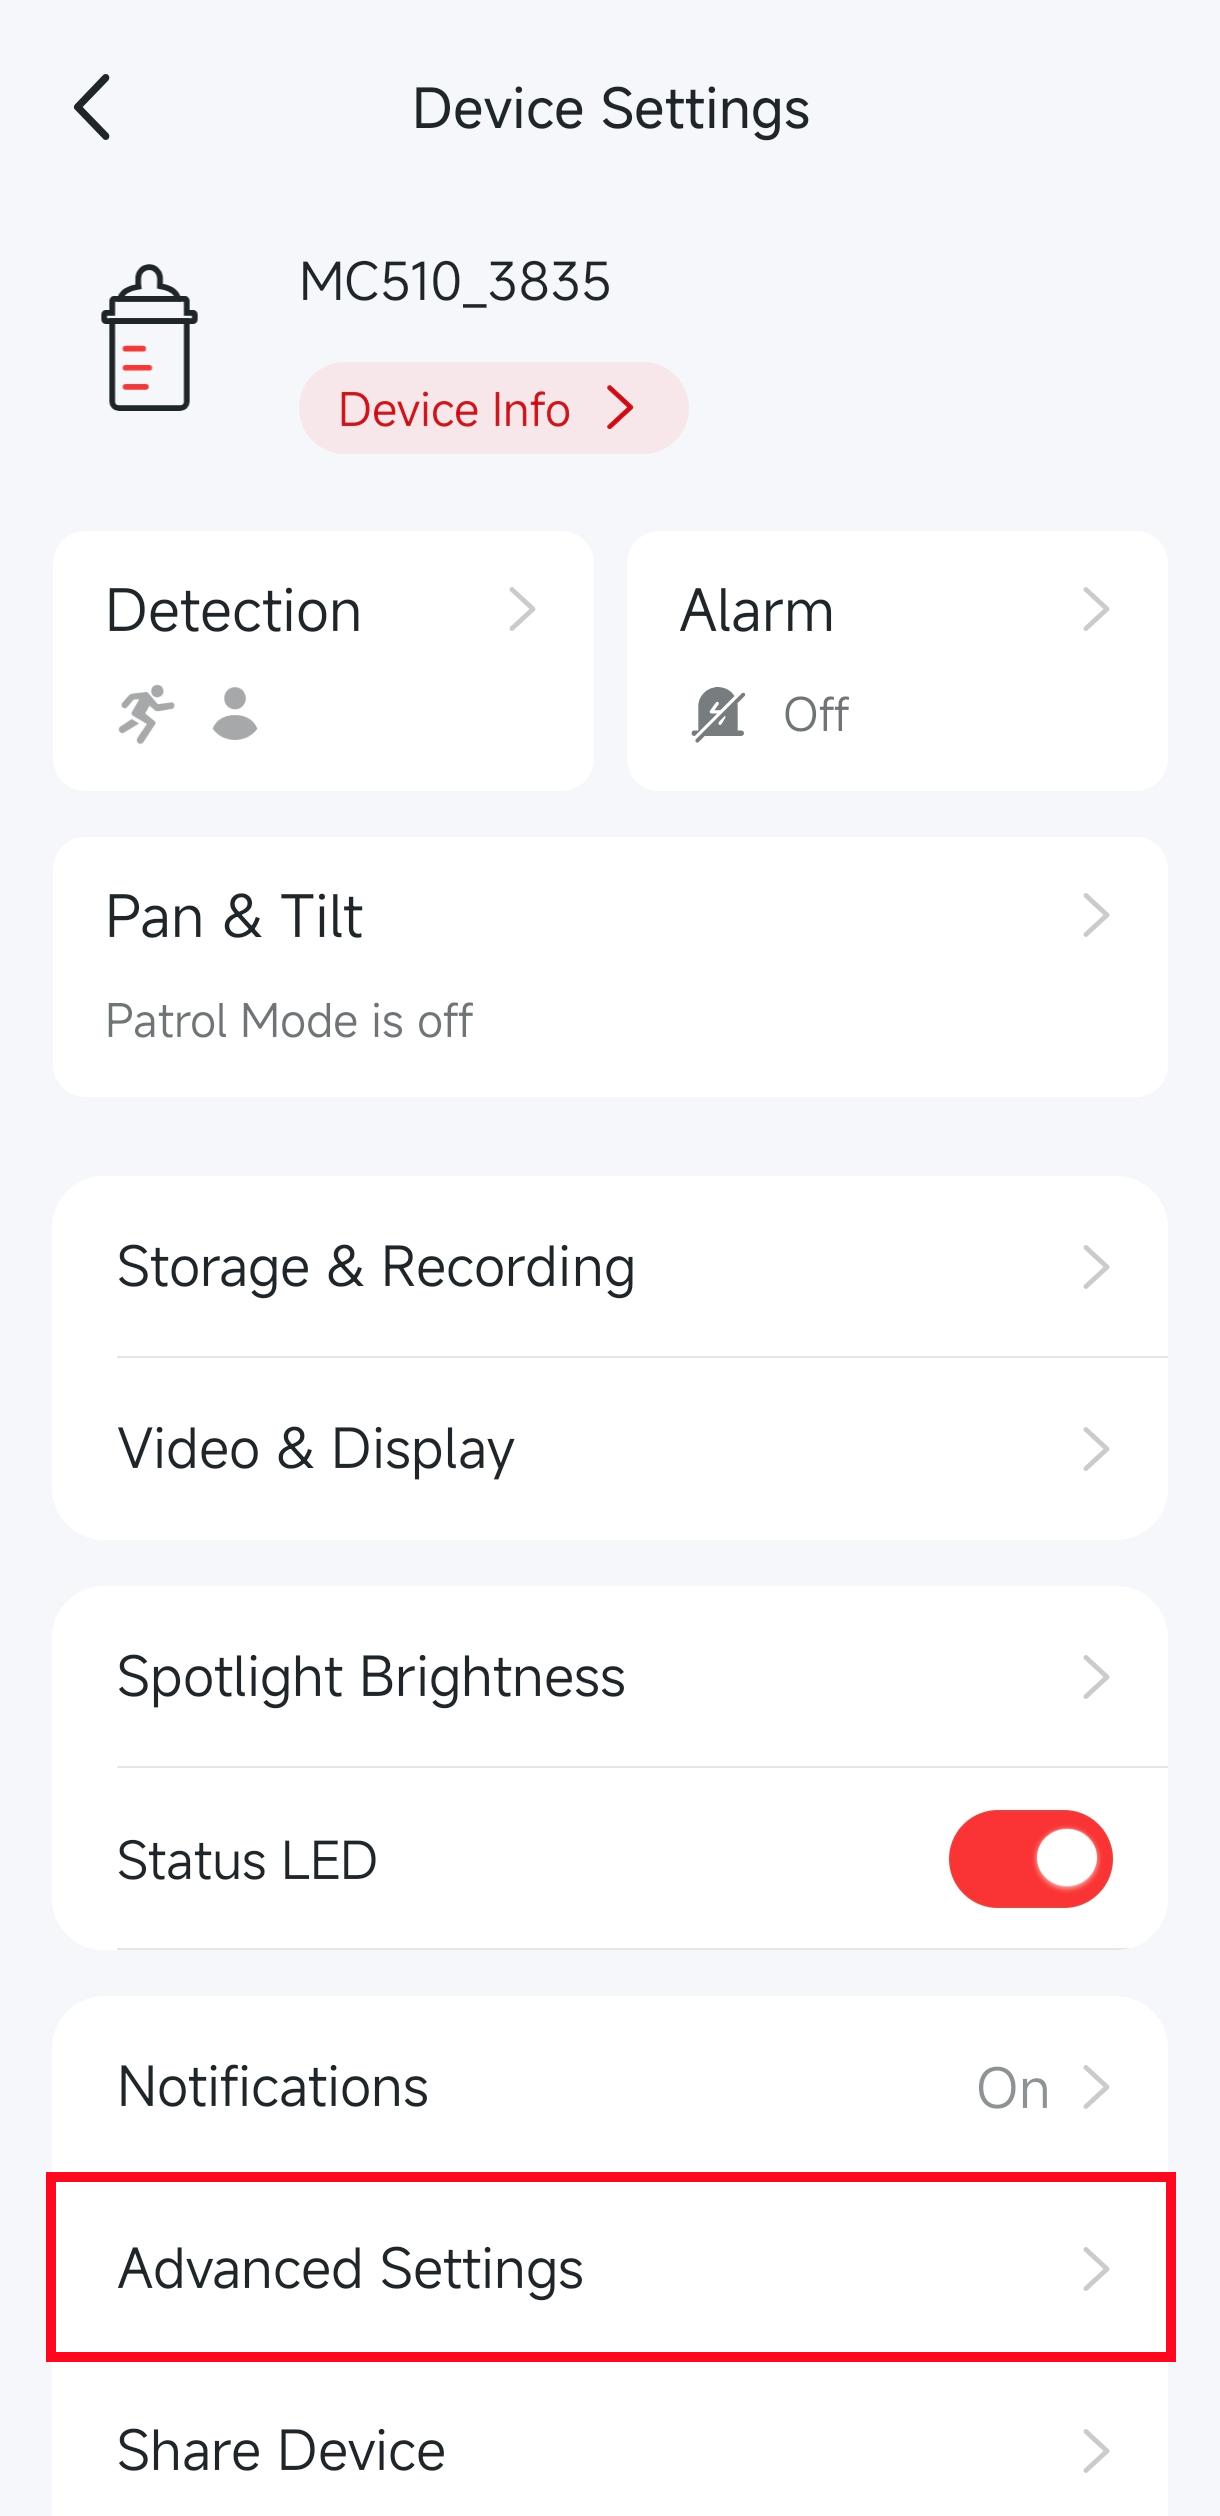
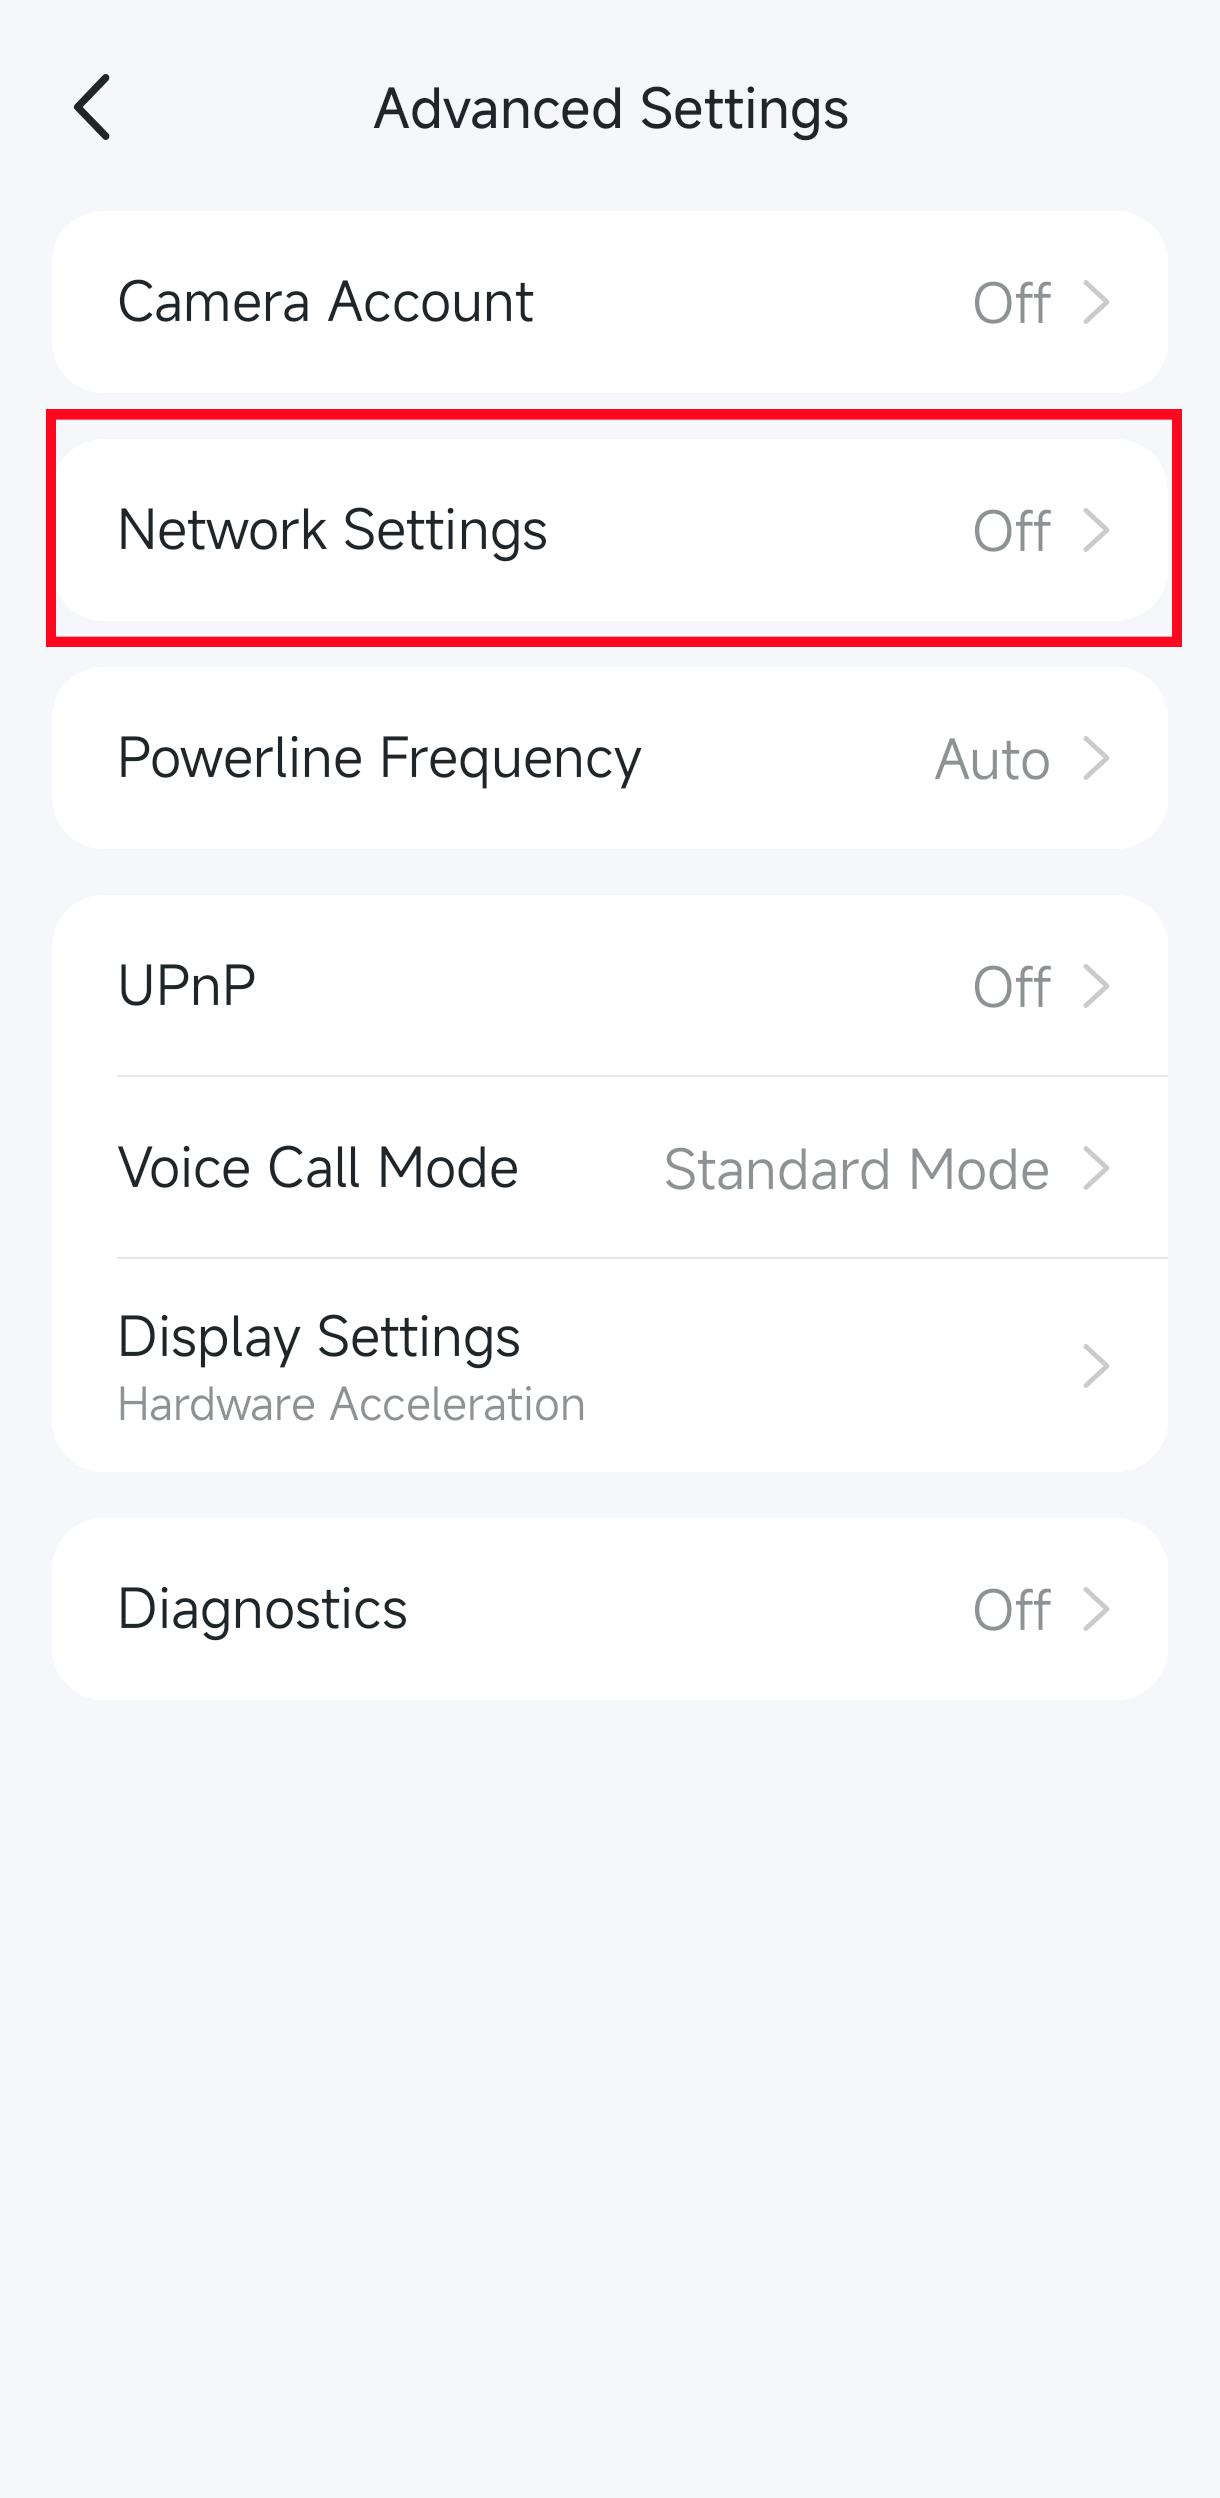
Step 1. Launch the MERCUSYS App, select the camera you need to configure, and navigate to Device Settings > Advanced Settings > Network Settings > Static IP.
Step 2. In the Network Settings menu, you will see the device's current DHCP settings. Enable the Static IP button to enable manual configuration of the device's network address fields.
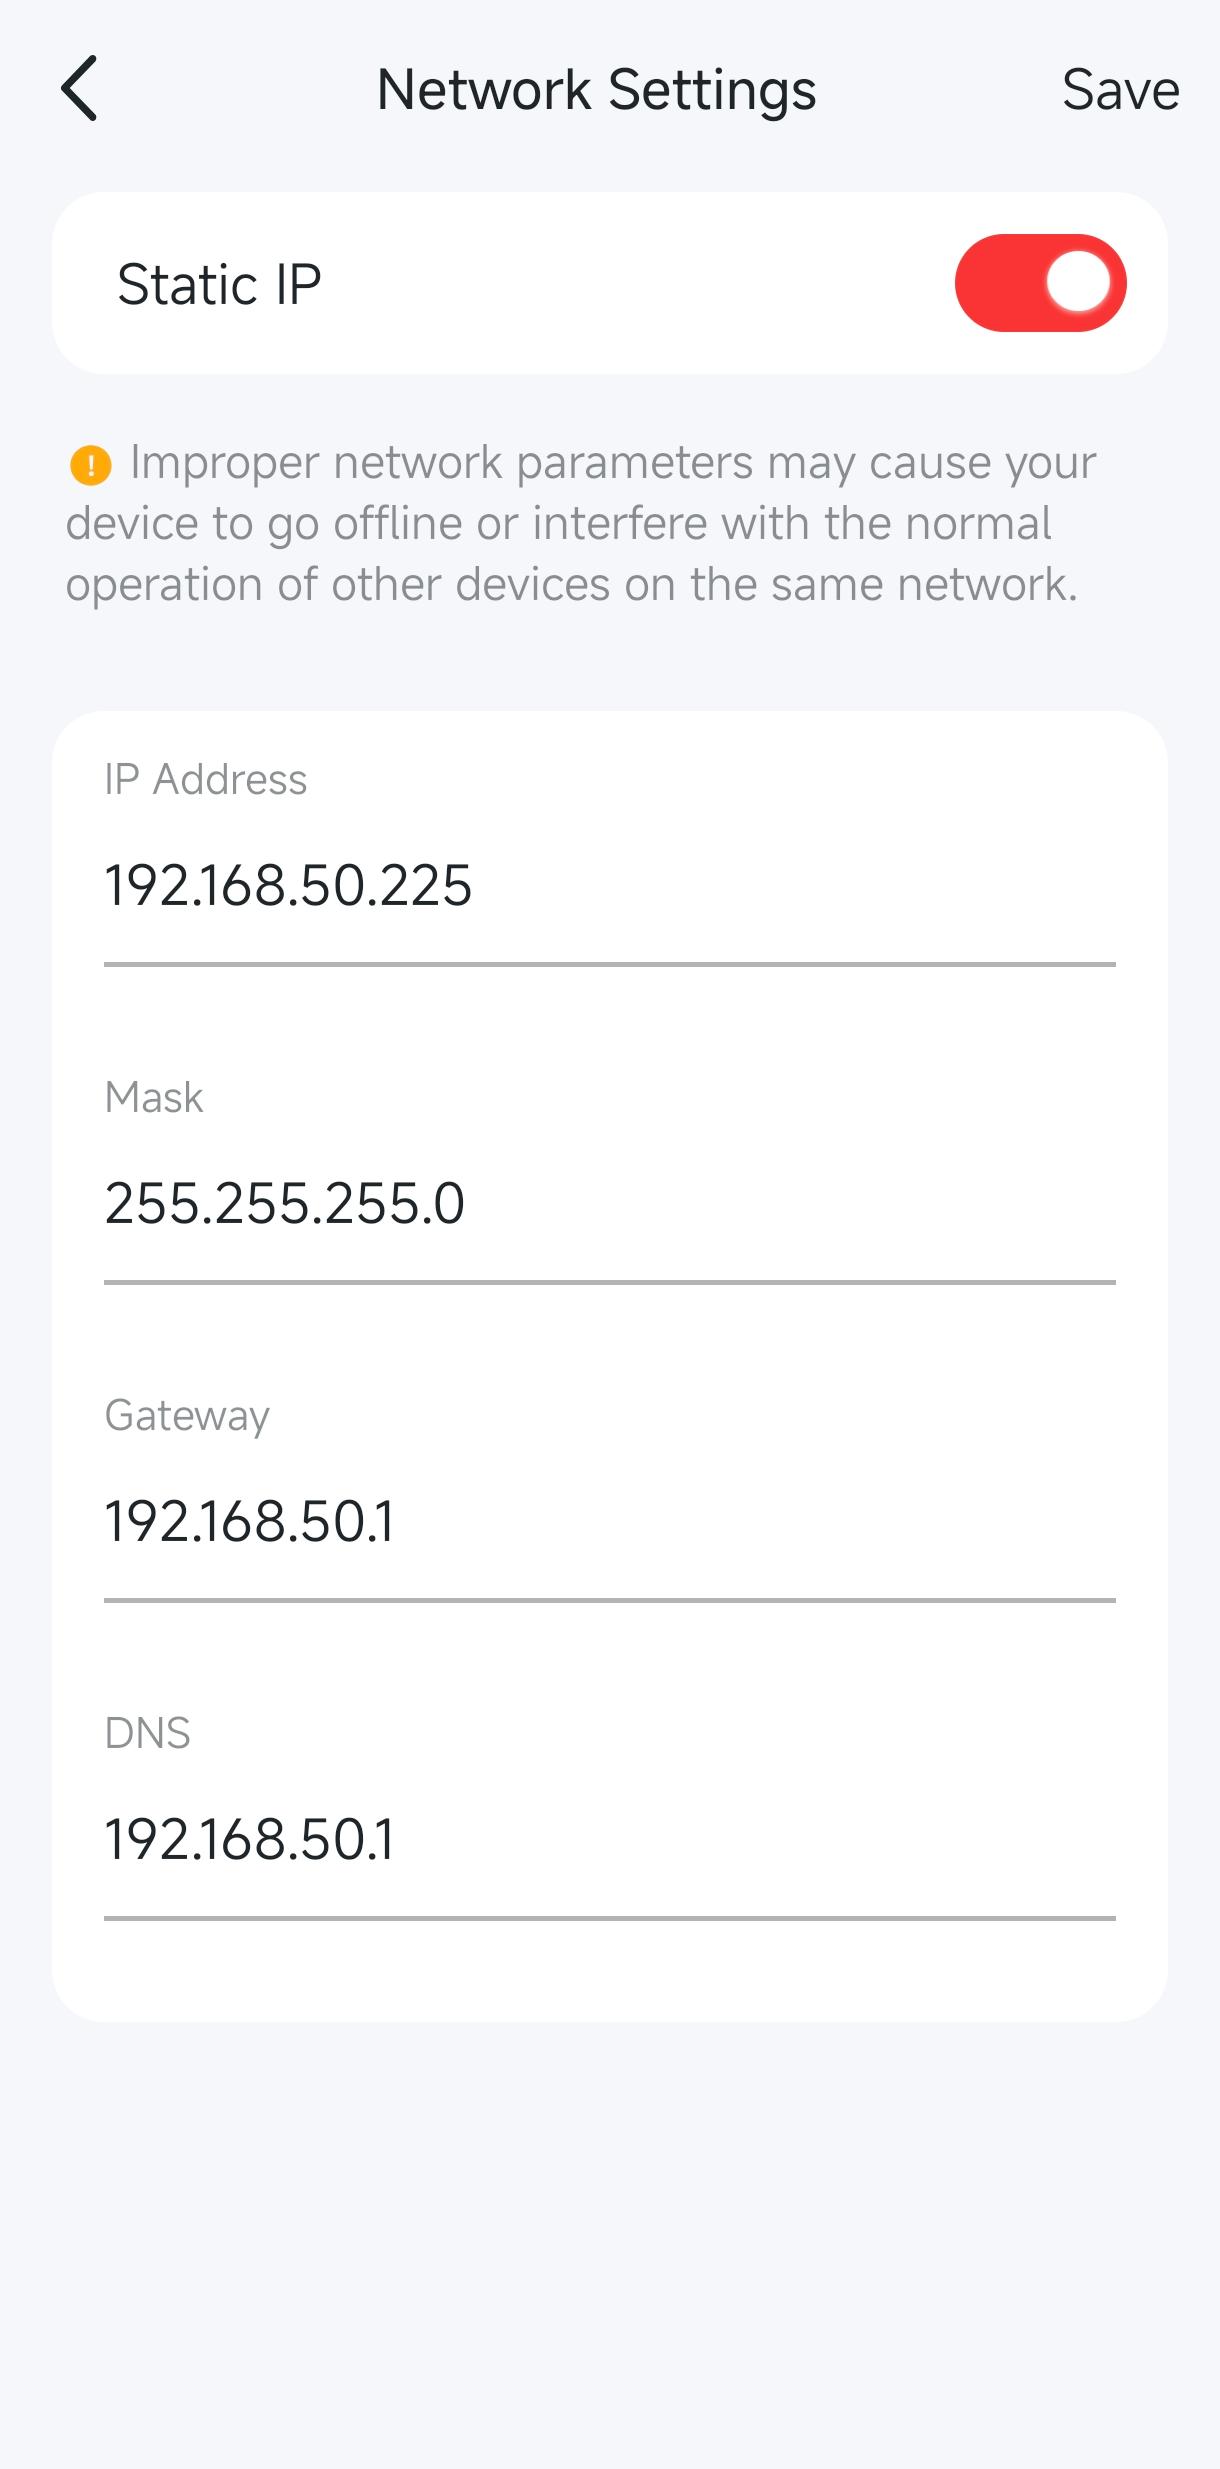
Step 3. Input the static IP address, subnet mask, gateway, and DNS settings for your device, then tap Save. If configured correctly, the device will reconnect to the network using its new static IP configuration.
Note: If a static IP is incorrectly configured, it is possible that your device will not be able to reconnect to the network and will require a complete factory reset. As a result, it is important to consider whether or not you need a static IP or if an IP reservation will suffice.
Get to know more details of each function and configuration please go to Support Center to download the manual of your product.