How to Configure the MERCUSYS Travel Router in Standard Wireless Router Mode
The MERCUSYS Travel Routers support multiple operating modes to accommodate diverse connectivity needs, including Wireless Router/Access Point/Range Extender/Client/Hotspot mode. This article provides step-by-step instructions for configuring them in Wireless Router mode effectively.
Wireless Router mode enables internet sharing and network coverage for multiple devices in a home or small office. If it doesn’t match your network environment, please identify which operation mode is suitable for you first.
Note: This guide uses MR84X-Travel as a reference model to show the installation steps. The actual interface and function options shown in this FAQ may vary slightly from those of your product model. For more details, please refer to your router's User Guide.
Step 1. Connect the router’s WAN port to your modem’s LAN port or wall Ethernet jack using the Ethernet cable.
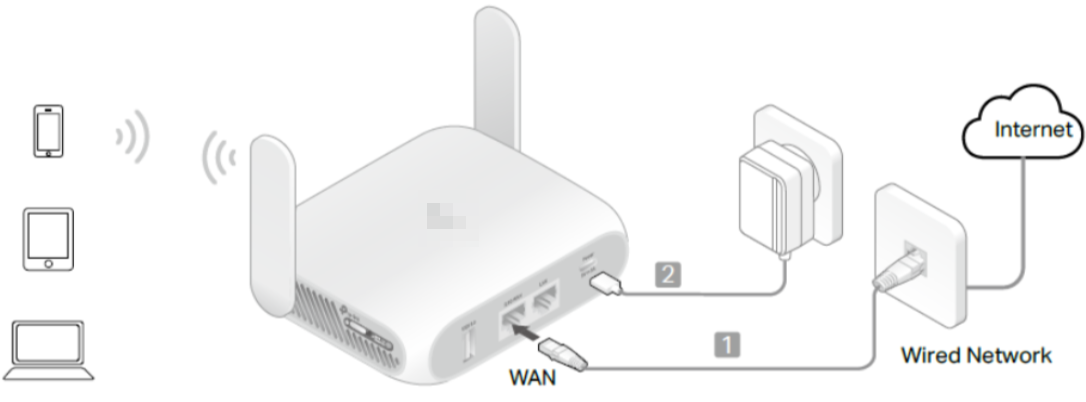
Step 2. Power on the router and wait until the status LED stabilizes with a solid blue/red indicator.
Step 3. Connect a computer to the router wirelessly or via a wired connection, then open a browser to visit mwlogin.net or 192.168.1.1 to log in to the web management page.
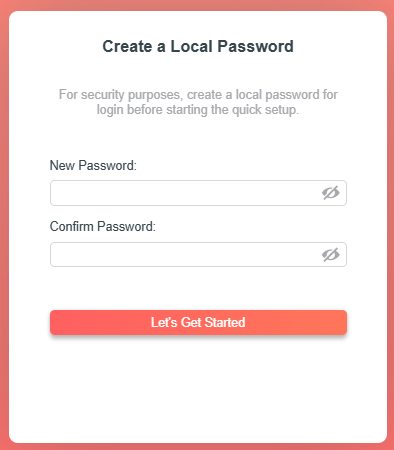
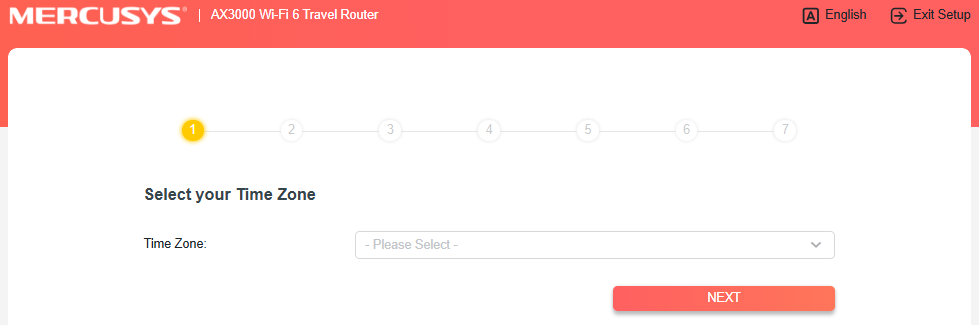
Step 4. After logging in, configure your time zone.
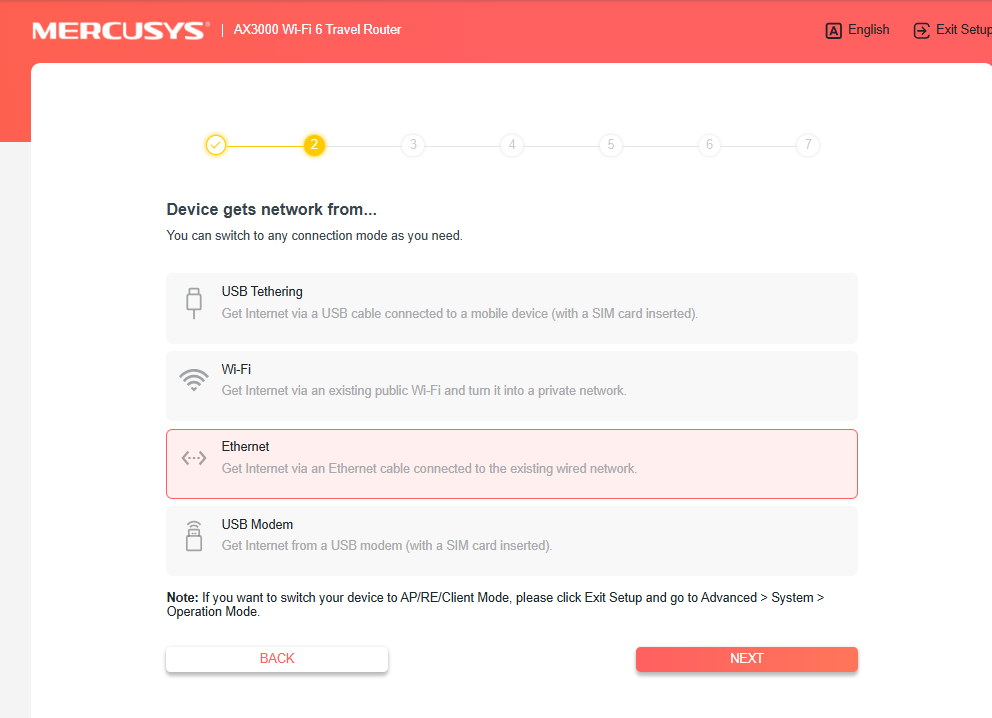
Step 5. Set Ethernet as the internet source. Then click NEXT.
Note: If you've already plugged an Ethernet cable into your router's WAN port before setup, your router will automatically detect Ethernet as the Internet source and skip this step.
Step 6. Choose the appropriate connection type and input ISP-provided connection parameters (if required). Verify settings before clicking NEXT.
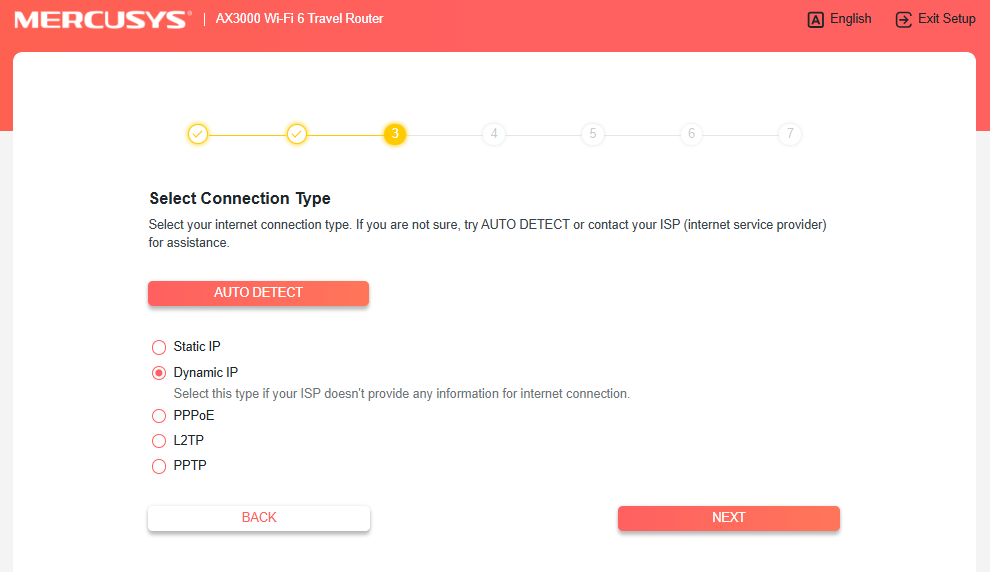
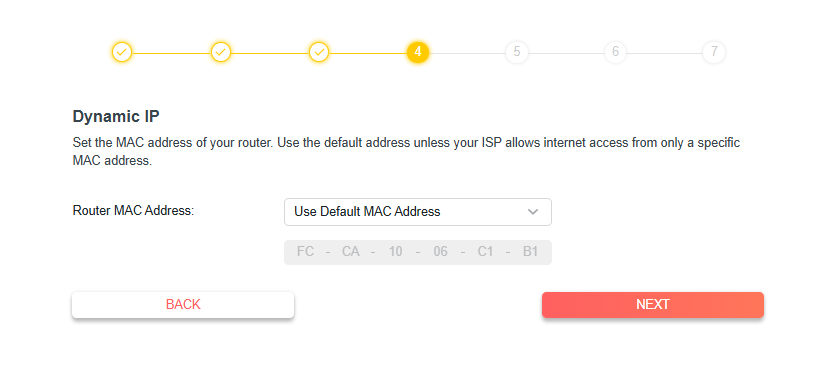
Step 7. Select Use Default MAC Address (recommended for most configurations). And click NEXT.
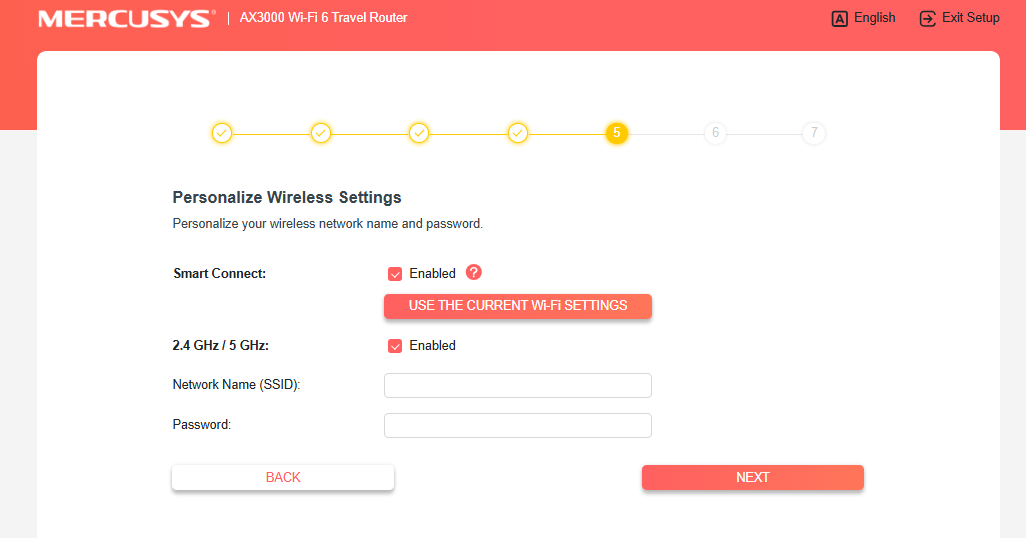
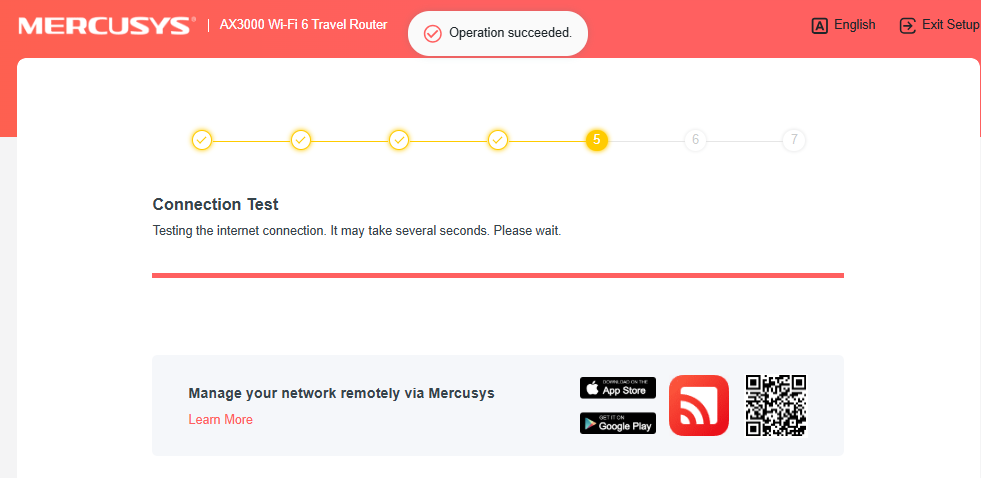
Step 8. Then complete the setup by following the on-screen instructions.
Get to know more details of each function and configuration please go to Support Center to download the manual of your product.