Halo H47BE 2.0 Setup Guide
Halo H47BE Setup Guide
Welcome! Let’s get your Halo up and running together.
This guide covers what’s in the box, how it looks, and how to get started. Additionally, our MERCUSYS app provides helpful accessibility features, including increasing contrast, switching screen orientation, making fonts bigger, and more. Discover these accessibility resources designed to make your setup even easier! For more accessibility guidance, please refer to Accessibility Support.
Ready to begin? Let’s start exploring your Halo and get connected!
1. Package Content
In the package, you can find the following. The number of Halo units and power adapters varies from the actual products.
- Halo H47BE unit
- Ethernet cable, which is a flat, flexible cable with a plastic connector on each end.
- Power adapter, which is a blocky shape that connects to a wall outlet on one end and has a cord with a specific connector on the other end
- Quick Installation Guide
2. Appearance
Position the back of the Halo to face you. The buttons and ports are on the lower back of the Halo. From left to right, the buttons/ports is the Reset Button, three 2.5Gbps WAN/LAN Port, and Power Port.
- The Reset button is a small, recessed button. Use a pin to press it to reset the Halo.
- Three 2.5Gbps WAN/LAN Ports are nearly square ports with rectangular openings. Plug in the Ethernet cable to connect to the Internet or connect it to desktops, game consoles, etc.
- The Power Port is a circular-shaped port. Plug the provided power adapter into the power port to power on the Halo. The Halo will be ready for setup in about two minutes.
3. Set Up Your Halo
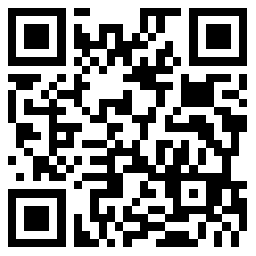
- Scan the QR code below to download the MERCUSYS app.

(Alt text: Scan the QR code for MERCUSYS app.)
- Open the app and log in with your MERCUSYS ID. If you don’t have an account, create one first.
- Follow the step-by-step instructions to configure your Halo.
Support
For technical support, user guides, the driver and more information, please visit https://www.mercusys.com/support.